
Maybe the forest survives inside us — its echoes, its rivers, its quiet persistence. The dream is the last refuge of the wild.
***
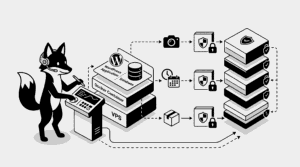
This is a critical topic, especially for VPS users who don’t have a hosting provider’s automated security blanket. I’ve refined the tone to sound more urgent and expert-level, adding specific technical nuances for Docker/VPS environments while keeping your HTML structure intact. Here is your enhanced security guide:WordPress is the most popular CMS on the planet, which unfortunately makes it the biggest target for hackers and automated bots.
If you are running WordPress on a VPS or within Docker, you have more power, but you also have more responsibility. A default installation is an open door; a secured installation is a fortress. In this guide, we’ll walk through the essential steps to lock down your site from the database to the login screen.
🧠 The Vulnerability Gap: Why WordPress Sites Fall
Hackers rarely target “you” specifically—they use bots to scan thousands of sites for known weaknesses. Most breaches happen due to:
- Credential Stuffing: Brute-forcing weak or default admin passwords.
- The “Update Debt”: Running old versions of plugins with known exploits.
- Admin Exposure: Leaving the standard /wp-admin/ path unprotected.
- Infrastructure Leaks: Misconfigured VPS ports or Docker containers exposing raw data.
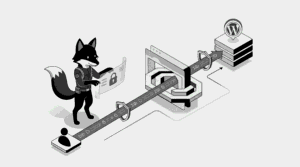
🔐 STEP 1 — Harden Your Front-Door Credentials
Security starts with the basics. If your login is weak, no firewall can save you.
- Kill “Admin”: Never use “admin” as a username. It’s the first thing bots guess.
- Entropy Matters: Use long, complex, and random passphrases.
- The 2FA Shield: Enable Two-Factor Authentication (2FA) so a leaked password isn’t enough to get in.
Example of a battle-tested password:
🛡️ STEP 2 — Deploy a Pro-Grade Security Plugin
You need a “security guard” that watches your site 24/7. These plugins act as an Application Firewall (WAF).
- Wordfence Security (Highly Recommended): Features a real-time threat defense feed and an excellent malware scanner.
- iThemes Security: Great for hardening the WordPress core and hiding common vulnerabilities.
Key Wordfence Features to Enable:
- Endpoint Firewall: Blocks malicious traffic before it hits WordPress.
- Malware Signatures: Scans your theme and plugin files for suspicious code.
- Brute Force Protection: Instantly bans IP addresses that fail to login multiple times.
🚀 STEP 3 — Obscure and Protect /wp-admin/
By default, everyone knows where your login page is. Changing the “rules of engagement” can stop 90% of bot traffic.
- Limit Login Attempts: Automatically lock out users after 3 failed tries.
- Custom Login URL: Use a plugin to change /wp-login.php to something unique (e.g., /my_secret_portal/).
- XML-RPC: Disable XML-RPC if you don’t use the WordPress mobile app to prevent remote brute-force attacks.
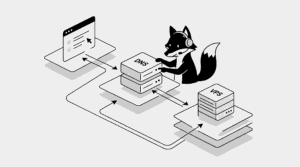
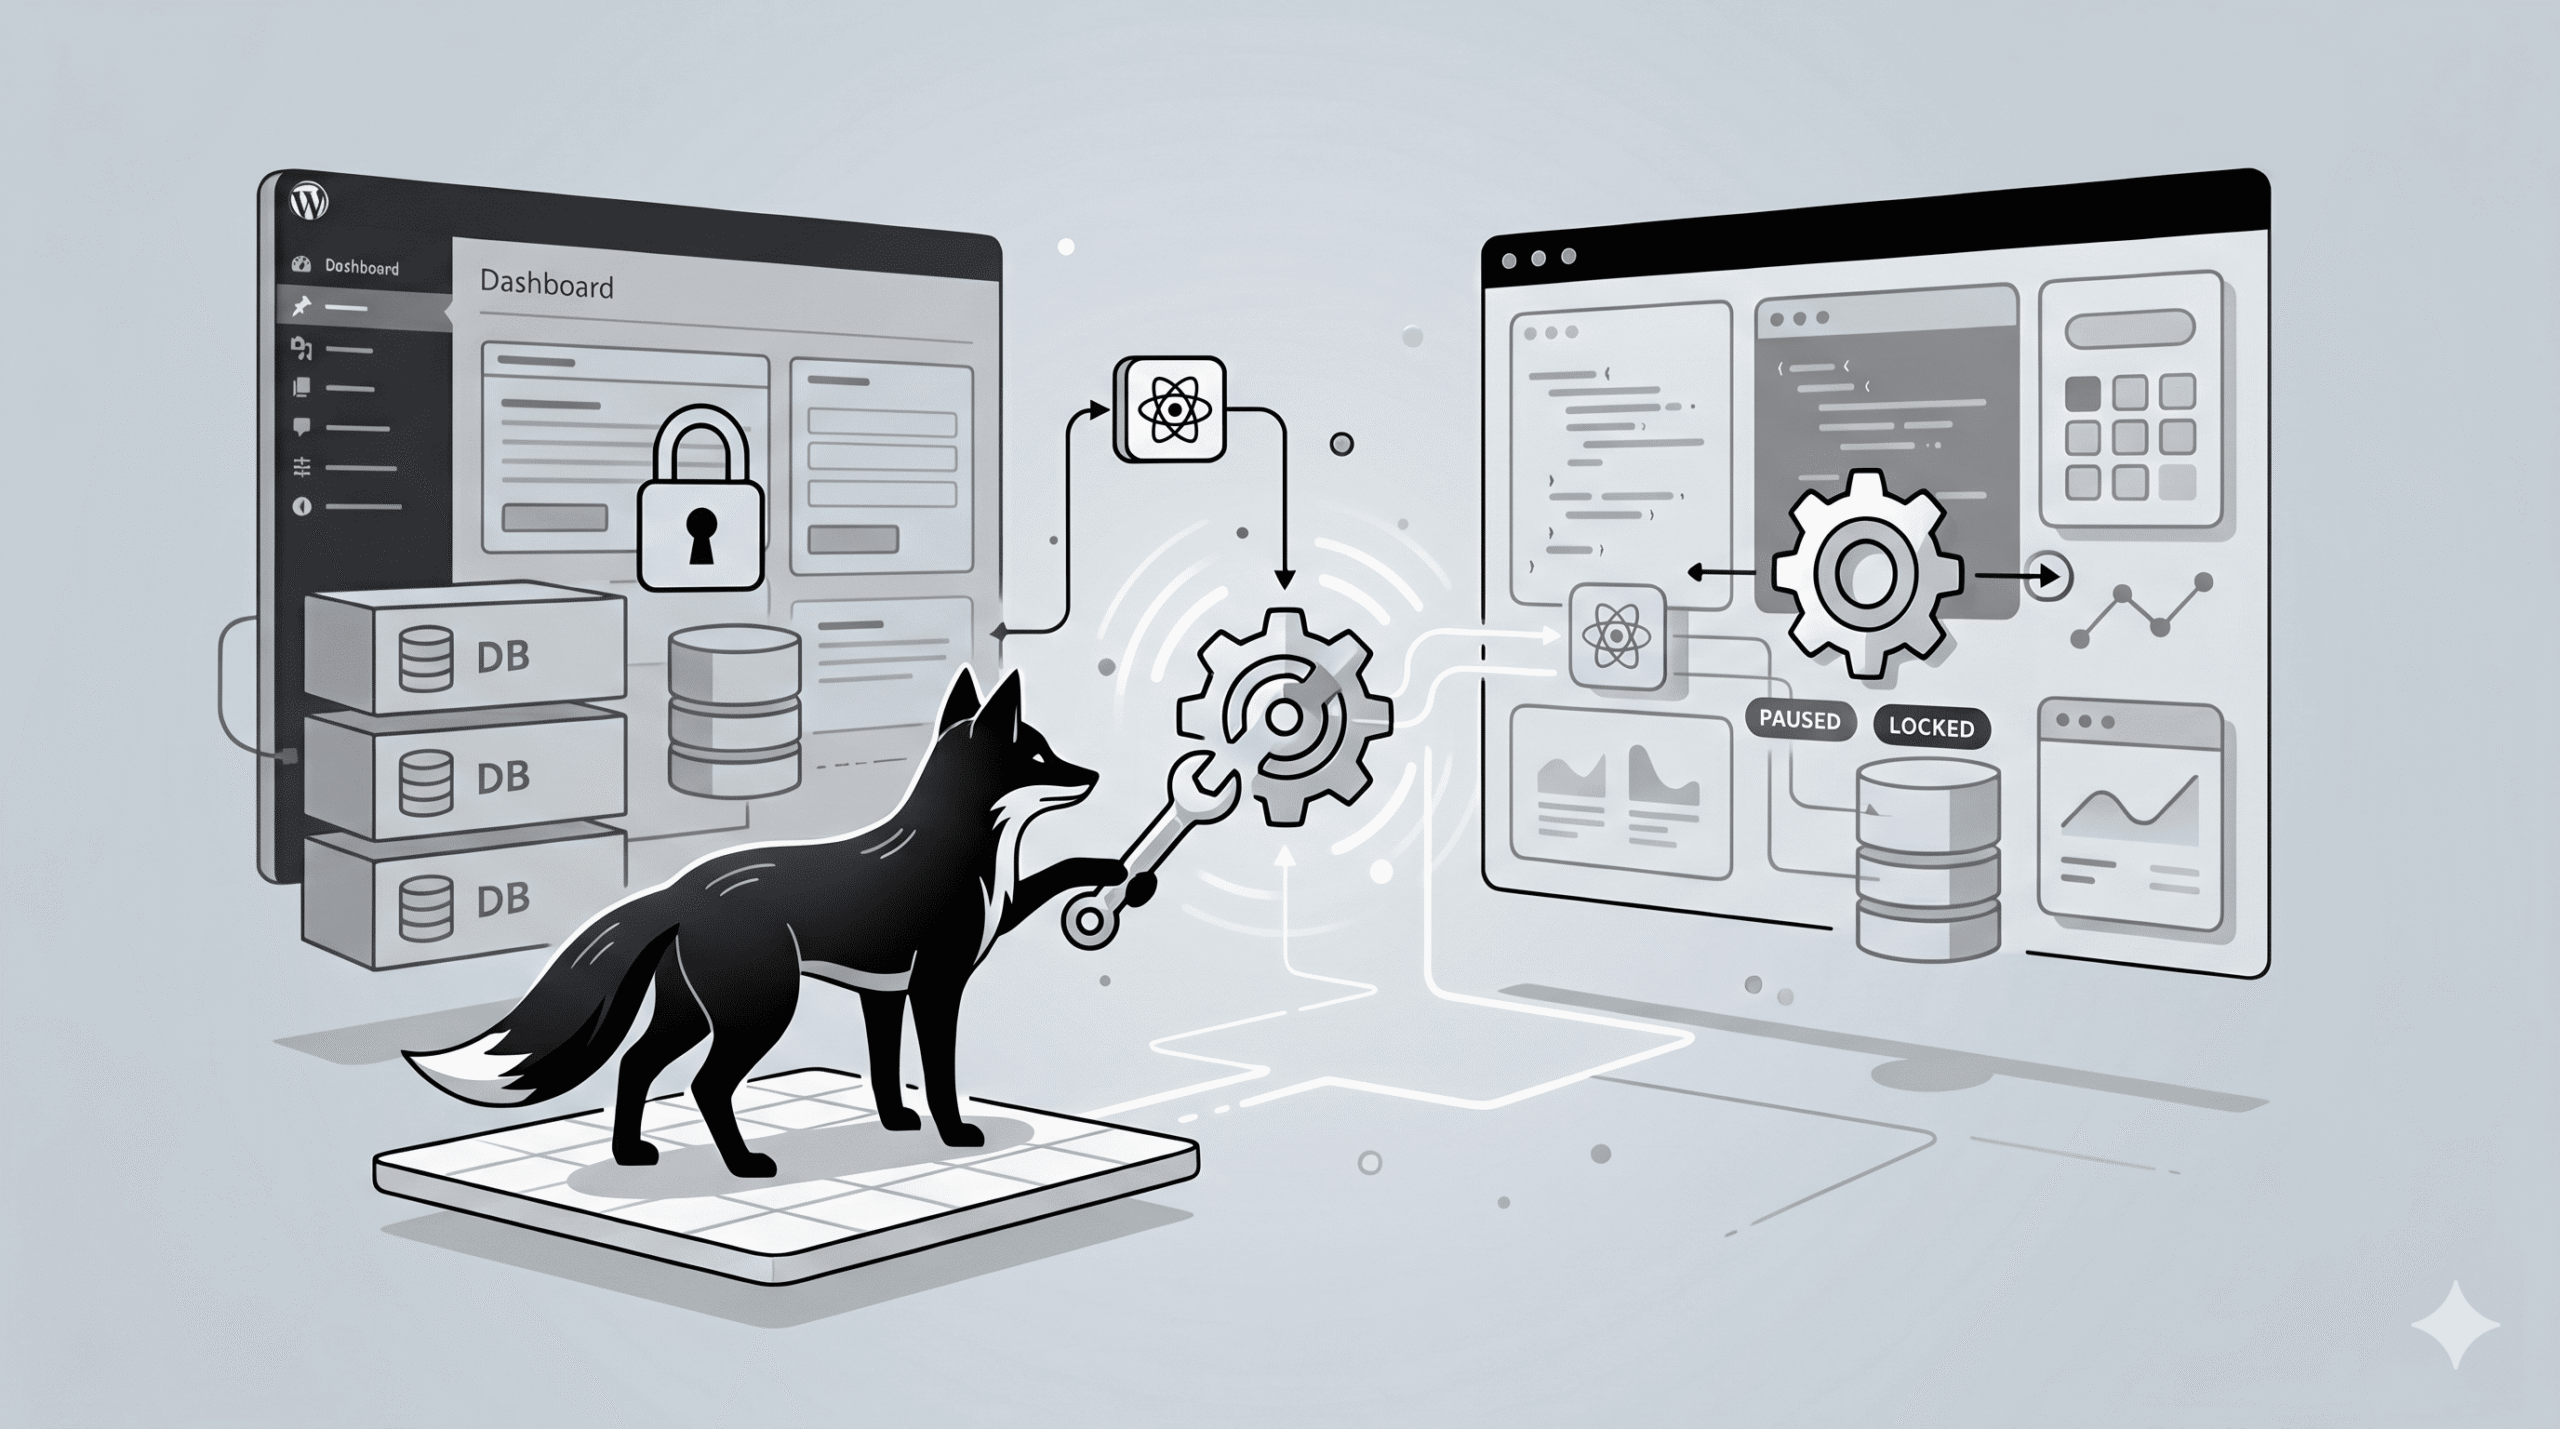
⚙️ STEP 4 — VPS & Docker Hardening (CRITICAL)
In a Docker environment, “hidden” doesn’t mean “secure.” You must ensure your internal network isn’t leaking to the public internet.
Audit Your Exposure:
Run this on your host terminal to see which ports are listening:
Crucial Rule: Your Database container (wpfox_db) should never have ports exposed to the public (e.g., 3306). Only your Reverse Proxy (Nginx/Traefik) should be reachable from the outside on ports 80 and 443.
🌐 STEP 5 — Mandatory SSL Encryption (HTTPS)
Without SSL, your login credentials travel across the web in “plain text.” This is a gift to hackers on public networks.
- Let’s Encrypt: Use free, automated certificates.
- HSTS: Force browsers to only communicate via HTTPS.
- Green Locks: Ensure every resource (images/scripts) loads over HTTPS to avoid “Mixed Content” warnings.
🔥 STEP 6 — The “Zero-Day” Defense: Keep it Updated
Security is a race. When a plugin developer releases a patch, hackers are already writing scripts to exploit the old version.
- Auto-Updates: Enable minor core updates automatically.
- Inventory Clean-up: If you aren’t using a plugin, delete it. Inactive plugins are still entry points for hackers.
- Source Check: Never use “Nulled” (pirated) premium plugins; they almost always contain backdoors.
🧱 STEP 7 — Server-Level Firewalls (UFW)
Before traffic even reaches Docker or WordPress, your VPS should have its own shield. Use the Uncomplicated Firewall (UFW) to block everything except the essentials.
The “Lockdown” Command Sequence:
🧠 The “Pro-Security” Philosophy
- Defense in Depth: Don’t rely on just one plugin. Use a combination of server firewalls, strong passwords, and monitoring.
- Database Isolation: Keep your database on the internal Docker network only.
- Frequent Backups: Security isn’t 100%—your backup is your ultimate “Undo” button.
⚠️ Avoid These Rookie Mistakes
- Default DB Prefixes: Using wp_ for your database tables (change it to something random).
- Permissions: Leaving file permissions set to 777 (use 755 for folders and 644 for files).
- Public Backups: Leaving .sql files or backup zips in your public /var/www/html folder.
🏆 The Result: A Fortress Website
- Resilience: Your site can withstand 24/7 bot attacks.
- Reputation: Google won’t flag your site for malware.
- Performance: Reducing bot traffic saves server CPU and RAM.
🔗 More Advanced WordPress Guides
- How to fix 502 Bad Gateway in WordPress
- How to increase WordPress website traffic
- How to backup WordPress on VPS
- How to speed up WordPress on VPS
✔ Your WordPress site is now fortified. Sleep easy knowing your data and hard work are under professional protection.
Tags