
The waves erase without cruelty. To be forgotten by the sea is to return to something larger than memory.
***
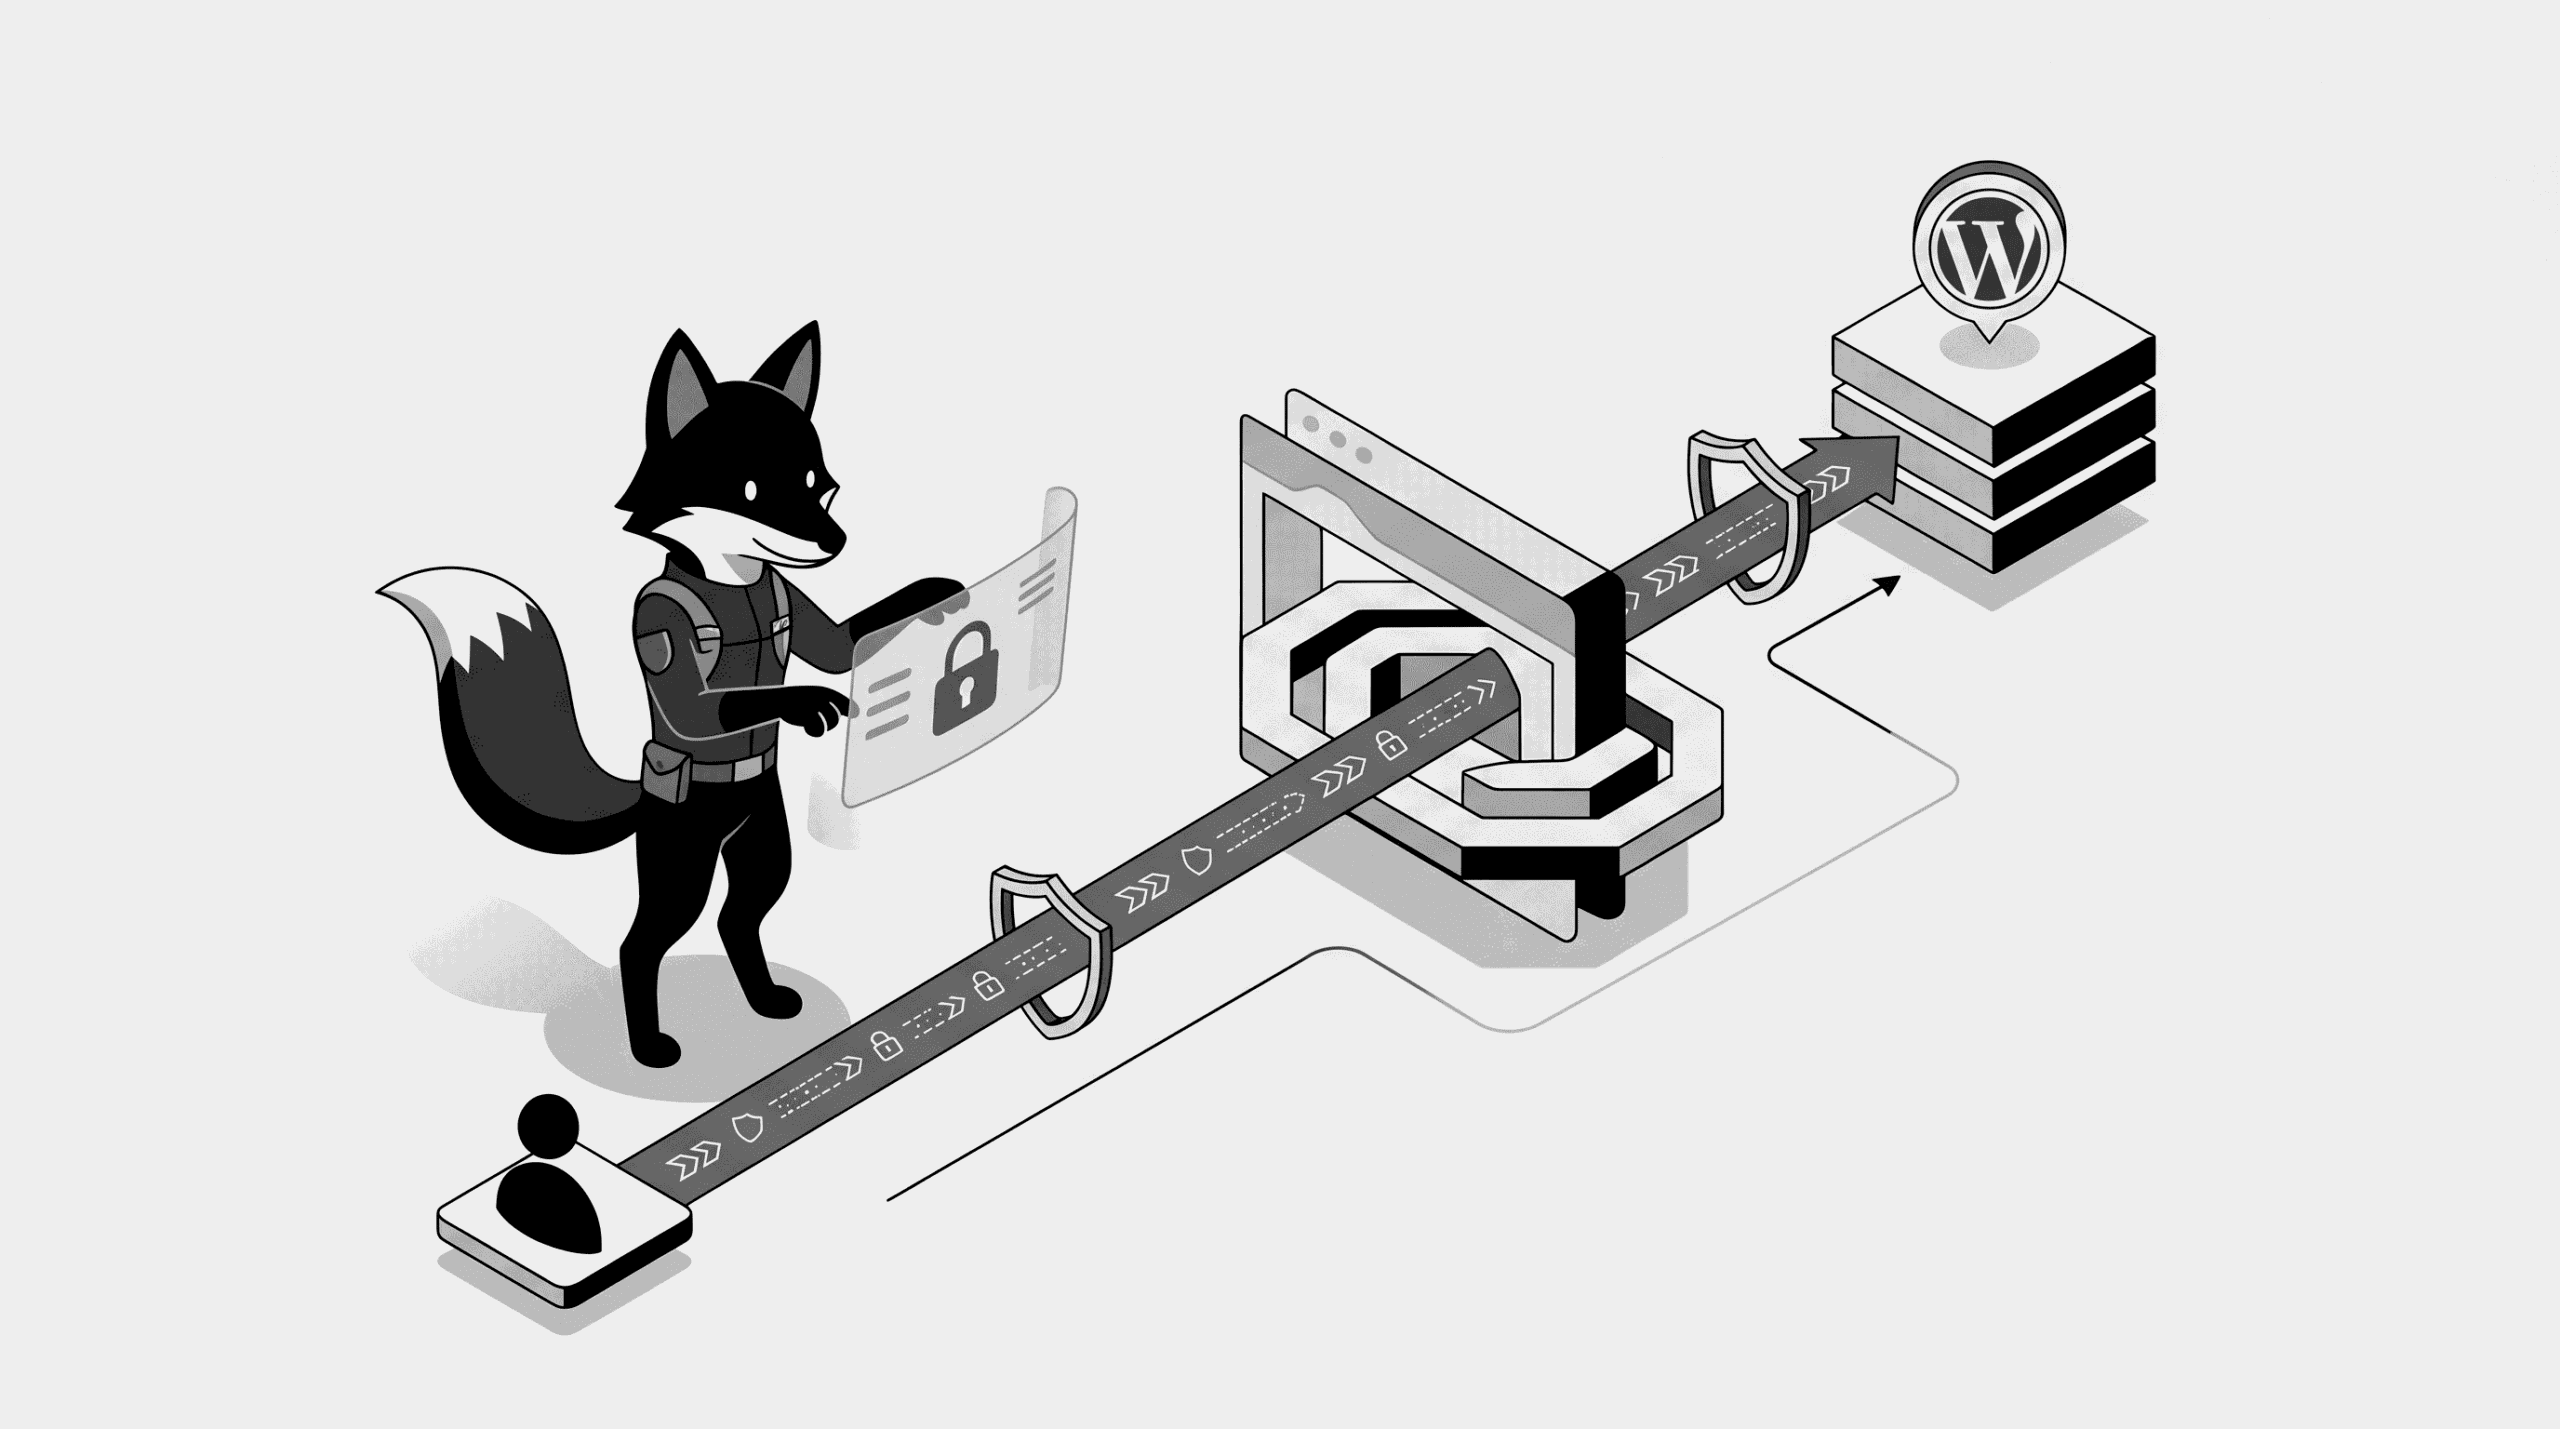
In this guide, we’re going to walk through the essential process of securing your WordPress site with HTTPS using Nginx Proxy Manager and Let’s Encrypt.
Think of an SSL certificate as your site’s passport—it’s no longer a “luxury” feature. In 2026, it is a non-negotiable requirement for SEO, data privacy, and gaining the trust of your visitors.
The Core Benefits of SSL
SSL (Secure Sockets Layer) creates an encrypted tunnel between your server and your visitor’s browser. This ensures that sensitive data stays private.
- Data Integrity: Prevents hackers from “listening in” on your traffic
- SEO Power: Google actively prioritizes HTTPS websites in search results
- User Confidence: Replaces “Not Secure” warnings with a professional lock icon
Why Nginx Proxy Manager is the Smart Choice
- Zero Cost: Get enterprise-grade SSL certificates for free via Let’s Encrypt
- User Friendly: Manage everything through a clean web interface—no terminal required
- Set and Forget: Certificates are renewed automatically before they expire
- Scalable: Easily manage multiple domains and subdomains from one dashboard
STEP 1 — Access Your Nginx Proxy Manager Dashboard
First, log in to your management portal. This is usually hosted on port 81 of your VPS:
http://YOUR-VPS-IP:81
STEP 2 — Configure Your Domain Mapping
Before we secure the connection, we need to ensure the “traffic controller” knows where to send your visitors. Navigate to **Proxy Hosts** and edit your domain entry:
Domain: wpfox.net
Forward Hostname: wpfox_app
Forward Port: 80
Scheme: http
Forward Hostname: wpfox_app
Forward Port: 80
Scheme: http
Note: Always ensure your “Forward Hostname” matches the internal container name used in your Docker setup.
STEP 3 — Request Your Let’s Encrypt Certificate
This is where the magic happens. Switch to the SSL tab and toggle these specific settings:
- Select “Request a new SSL Certificate”
- Ensure “Use Let’s Encrypt” is active
- Toggle “Force SSL” (This ensures no one accidentally visits the “unlocked” version)
- Enable “HTTP/2 Support” to give your site a minor performance boost
Click Save and wait a few seconds while the system communicates with Let’s Encrypt.
STEP 4 — Verify the HTTPS Redirect
Double-check your SSL settings to ensure that “Force SSL” is properly engaged. This creates a permanent redirect that automatically pushes any http:// traffic to the secure https:// version of your site.
STEP 5 — The Final Security Check
Now, open a new browser tab and visit your site manually:
Look for that satisfying lock icon in the address bar. If you see it, your site is officially encrypted.
Troubleshooting Common Roadblocks
If things didn’t go perfectly, it’s usually one of these three things:
- DNS Propagation: Has your domain been pointed to your VPS IP for at least an hour? Let’s Encrypt needs to “see” your server to verify ownership.
- Firewall Rules: Is port 80 (HTTP) and port 443 (HTTPS) open on your VPS firewall?
- Container Networking: Is Nginx Proxy Manager on the same Docker network as your
wpfox_appcontainer?
Pro Tips for Better Security
- Always use “Force SSL” to protect your users’ sessions
- Request certificates for both your root domain (wpfox.net) and the ‘www’ version (www.wpfox.net)
- Check your dashboard once a month to ensure auto-renewals are triggering correctly
The End Result
- Your WordPress backend and frontend are now fully encrypted
- Your SEO foundation is stronger and ready for Google
- Visitor trust is established from the first click
- The dreaded “Not Secure” warning is gone forever
Learn More About Modern Hosting
- The Blueprint: Installing WordPress on a VPS with Docker
- Debugging the 502 Bad Gateway: A Docker Survivor’s Guide
- Performance Tuning: Speeding up WordPress on a VPS
✔ Your WordPress site is now fortified, professional, and ready for production.
Share:
Tags